Get started
Getting started
Welcome to Clientt. This page walks you through the first things to do — setting up your workspace, taking the welcome tour, practicing with guided tutorials, and completing your first steps.
Create your organization
The first time you sign in, Clientt helps you set up your organization — your shared workspace where your team's contacts, accounts, campaigns, and everything else live together.
- Give your organization a name so your team recognizes it.
- Invite your teammates so everyone works from the same records.
- Once you're in, you can jump straight into the app or take the welcome tour.
The welcome tour
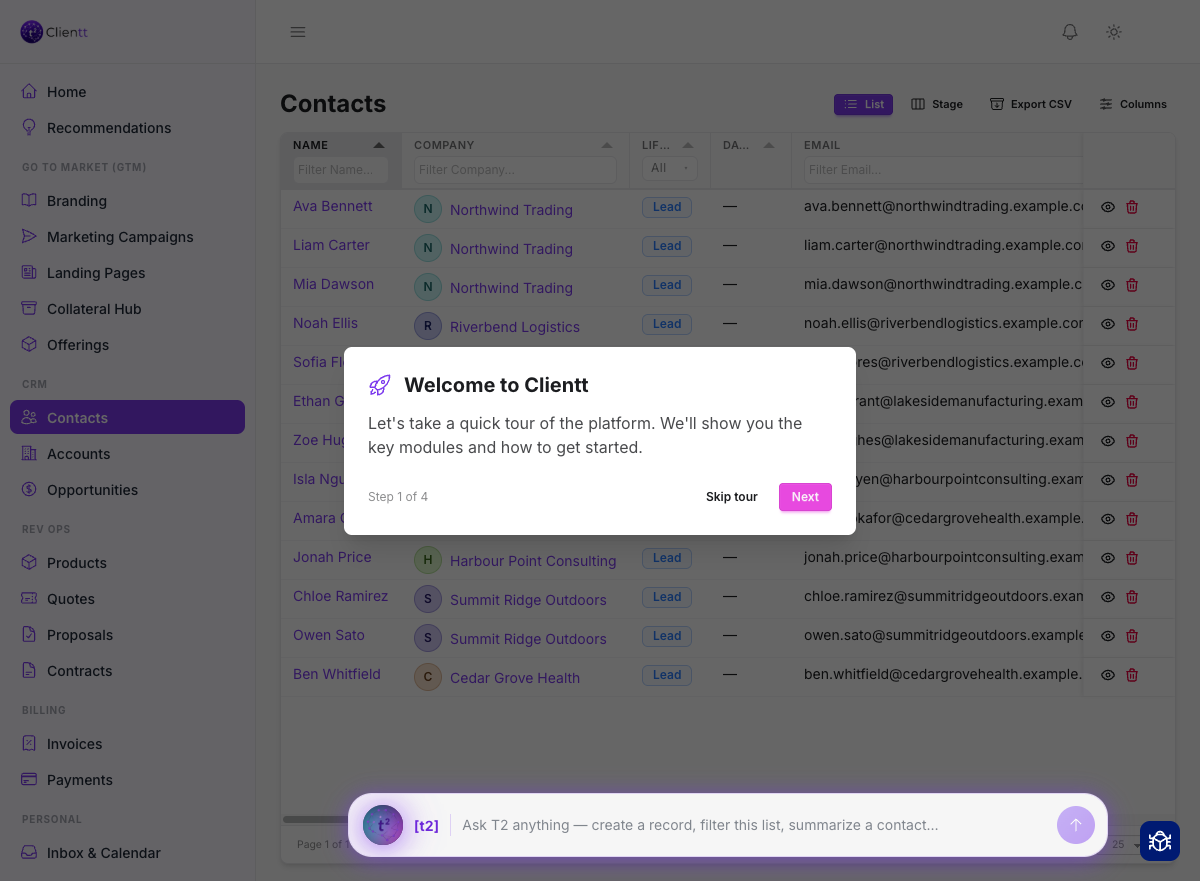
A short guided tour starts automatically the first time you open the app. It points out your dashboard and shows you where to go next, so you get your bearings without hunting through menus. You can close it at any time and pick right back up in the app.
Guided tutorials
When you're ready to learn by doing, step-by-step tutorials walk you through the core areas of Clientt — Accounts, Contacts, Tasks, and Marketing. Each tutorial seeds sample data so you can practice safely before working with your own records. You'll find them under Settings → Tutorials, along with a Replay for the welcome tour if you skipped it.
Your first steps
Once you've looked around, here's a good order to get real value out of Clientt.
- Add a contact or account — the quickest way is to ask the T2 assistant.
- Connect your email and calendar so your conversations and events show up in Clientt.
- Load a few assets into your Collateral Hub so they're ready to share.
- Launch your first campaign to reach your contacts.